What is it about a professional manicure and pedicure that makes it a powerfully therapeutic experience? I swear that I can walk into a nail salon, and an hour later, walk out a brand new woman. But we don’t always have the time or funds to have regularly spoiled tips and toes. You can definitely get a brilliant at-home manicure and pedicure if you have the right tools lined up.
You’ll need:
- non-acetone nail polish remover and cotton balls
- nail file
- buffing block
- sugar scrub to exfoliate
- orangewood stick
- cuticle oil
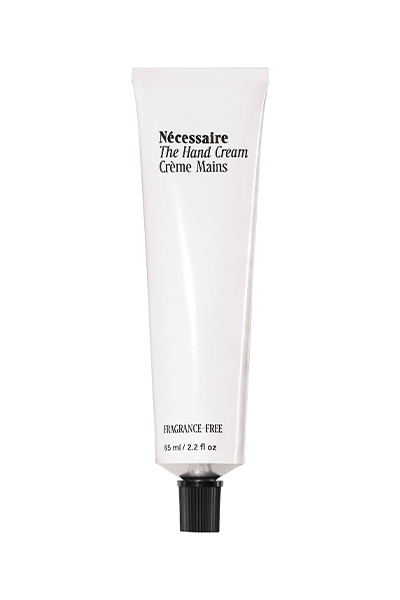
- moisturizer
- nail polish (base coat, color, and top coat)
1. Start with a clean canvas
Before you start, make sure your fingernails and toenails are polish-free using a non-acetone remover (acetone can be very harsh and stripping!). Next, use clippers and/or a file to gently shape your nails to your desired length and shape. We prefer to use a crystal nail file since it will shape even the most delicate nails and prevent splitting. Then, smooth the surface of your nails with a buffing block (this will also remove ugly yellow stains we all get from wearing too much dark polish!). Follow up with the smooth buffing side for a high shine.
2. Soak and scrub
Soak your hands for two to three minutes and your feet for five minutes. Now, time to exfoliate! We love Tree Hut’s affordable body scrub, but for an easy at-home fix, just mix one tablespoon of sugar with one tablespoon of baby oil gel and gently scrub away the dead, dry cells. It smells fantastic and leaves your skin feeling like silk. Rinse and pat dry.
3. Care for your cuticles
Soften your cuticles by rubbing a bit of oil on them. By now, your cuticles should be nice and soft, so go ahead and push them back with an orangewood stick to get a really nice shape. You can also use this tool to clean the dirt from under the nail. Now the fun part: massage! Grab a rich moisturizer and slather it on. Don’t forget your heels and cuticles! Before moving on to step #4, swipe the nail beds with non-acetone polish remover to remove any oil and moisturizer. The key to long-lasting polish is super clean nails.
4. Don’t skip the base coat
Apply a base coat to smooth any ridges and create an even surface for your color. One thin coat will do.
5. Polish away
Paint on two thin layers of polish, allowing your color to dry completely between each coat. To do it like the professionals, swipe polish down the center of the nail first, then on each side. The key is to make the layers of polish as thin as possible, which will aid in longevity and help the polish dry more quickly.
6. Add a top coat
Applying a top coat does more than add shine. It also smooths away any flubs and flaws, which is often a total lifesaver. Just one coat is all you will need. To quickly refresh your mani/pedi throughout the week, add another layer of top coat.
7. Relax and don’t. touch. anything.
Now, just chill and resist the urge to do anything except lay on the couch and watch Real Housewives. You deserve it (and your freshly painted nails do too). For a picture-perfect finish, add a few drops of Olive & June’s Dry Drops onto the nails. Although this is completely optional, it will definitely speed up the drying process a whole lot more.
Our favorite all-in-one mani/pedi kit:
The post 7 Steps to a DIY Manicure and Pedicure at Home appeared first on The Everygirl.


Post a Comment
Note: only a member of this blog may post a comment.